
See the problem before you reach it
Survive The Slope obstacle avoidance begins with vision, not last-second movement. Look down the route far enough to identify the next collision point and the open space around it. When your attention stays on the avatar, every obstacle seems to arrive faster.
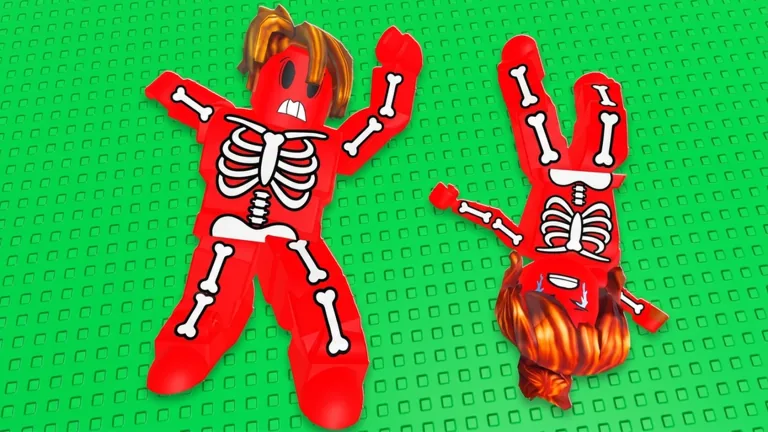
Obstacles and bone damage define each run, but you should read the live route instead of memorizing a supposedly fixed pattern from an old guide.
Read every approach in three zones
Divide the space ahead into three mental zones:
| Zone | Decision |
|---|---|
| Far | Identify the obstacle and the widest available route |
| Middle | Commit to a line while there is still room to adjust |
| Near | Make only the minimum correction needed |
Large late corrections often create a second problem: a bad landing, an exposed angle, or no room for the following obstacle. The goal is not merely to miss the current object. It is to leave the avatar in a position that keeps the next decision possible.
Choose space over apparent speed
When two routes are visible, the wider route usually provides a better learning opportunity. It may not look as fast, but it gives you time to observe how movement and momentum behave. Once you can repeat the wider route, you can test a tighter line deliberately.
A safe route has three qualities:
- you can enter it without a violent correction;
- there is room to settle after the obstacle;
- the exit gives you a sight line toward the next hazard.
If one of those is missing, the route deserves more caution.
Recover after contact
Do not panic after a minor collision. First assess where the avatar is heading. A second aggressive input can turn a manageable impact into the decisive crash. Use the smallest correction that restores a usable line, then resume scanning ahead.
If the collision produces heavy bone damage or persistent loss of control, remember the approach. The useful lesson is often several seconds before impact: you entered too narrow, reacted too late, or chose a route without an exit.
Review collisions by cause
After the run, classify the first major collision:
- Visibility: you never noticed the obstacle in time.
- Timing: you saw it but waited too long.
- Positioning: your earlier route removed the safe option.
- Overcorrection: the avoidance move created the crash.
- Recovery: the first impact was survivable, but the follow-up decision was not.
Pick one correction for the next run. For visibility, scan farther. For timing, commit earlier. For positioning, choose a wider entry. For overcorrection, reduce the movement. For recovery, pause long enough to read the new direction.
FAQ
Are obstacle patterns always the same?
No fixed pattern is claimed here. Read the live route each run and adapt to what appears.
Should I make large movements to avoid danger?
Only when the available space clearly requires it. Early, smaller corrections generally preserve more control and recovery room.
Why do I hit the obstacle after seeing it?
Recognition is only the first step. You may be committing too late or entering from a position that already removed the safe line.
What should I watch after a collision?
Watch the avatar’s new direction, the remaining open space, and the next obstacle. Avoid stacking a rushed correction on top of the impact.
How can I practice obstacle avoidance?
Use short three-run blocks focused on one cause category. Track whether that cause appears less often before adding another goal.